

Part 2: The Beginner's Guide to Creating a Lead Generation Business
Part 2: The Beginner's Guide to Creating a Lead Generation Business
Part 2: Domains, Logos and Hosting Setup

Disclaimer: This is the second post of a multi-part series with specific, actionable directions for creating a lead generation business.
This article will go over where and how to buy a domain, how to make a logo, and set up hosting for your site. Remember that this has a learning curve but once done, it is very easy to replicate for other sites.
Selecting a Domain Name
Domain selection criteria have a couple of schools of thought. First, many suggest that you should have a domain name that matches whatever you are offering. For example miamiplumbers.com. This is because Google Search used to put more emphasis on exact name domains. Is it still an advantage? Yes. Is it necessary? Not as much as it used to be.
The second school of thought is that you should just make a brand name and have this be your domain. For example sinkfix.com.
For our purposes, we would start by searching for an exact name domain, if this isn’t possible due to your niche then make a brand name.
Pro-tip: Remember that we are doing local lead gen. Having the location in the name can be a small advantage for SEO, so always try to do this before settling for a brand name.
Buying a Domain
There are multiple websites to buy a domain however to simplify I will make two recommendations.
Generally, lower cost ($8 - $10) but the interface is not as clean. Lately, there are roomers about malpractice with existing domain holders.
Clean interface but a standard, the non-competitive domain is $12 per year.
Note: Domains ending in .com should be your first focus. If in another region strive to get domains ending with whatever is the standard regionally.
Pro-tip: My recommendation is to avoid GoDaddy, as there are significant complaints from users that had their domains sold without notification or against their will. Furthermore, it is general practice to separate your domain provider and hosting service. This is just basic advice for decentralizing your assets.
Since I use Google Domains here are steps to purchasing:
Simply log in to the website, select Get a new Domain, and type options into the search bar until you find what you like.

Creating a Logo
Logo creation is one of the major hurdles for building a new site as this is where the builder usually spends their first amount of money. It can be psychological as when you look at logo prices, some of the creation engines are charging $30 to $90 for a simple logo… Do not do this.
Your logo should be kept simple. Start with putting the name of the service/brand and the location. Then, use look for an image that is simple and goes with the theme. For example, if you make a logo for a landscaping company, you could have a tree or plant in the logo. Just keep it simple and try to make the colors coordinate with your web design (will cover this later).
Here are my two recommendations for making a logo:
Go on Fiverr and hire a designer for $10-$15 and give specific instructions on what you want.
The Screenshot Method (free version):
Go to “free” a logo creation engine like wix.com.
Complete the process of making a logo until they try to charge you. (it was supposed to be free? Yeah right)
Use “Command” + “Shift” + “#4” to take a screenshot of only the logo.
Use this screenshot for your website and icon images in the web browser.
Note: Is this a vector image? No, does it work? Yes. Some people would object, but when just starting to create websites this is an excellent method for getting started. In 99% of cases, your customer will never know the difference as the logo is small and most won’t know it’s not a vector.
Setting up Hosting
Now that you have purchased a domain and created a simple logo, it’s time to set up hosting for your website. Essentially, the web hosting service provider is a business that provides all of the technologies needed for your website to be viewed on the internet.
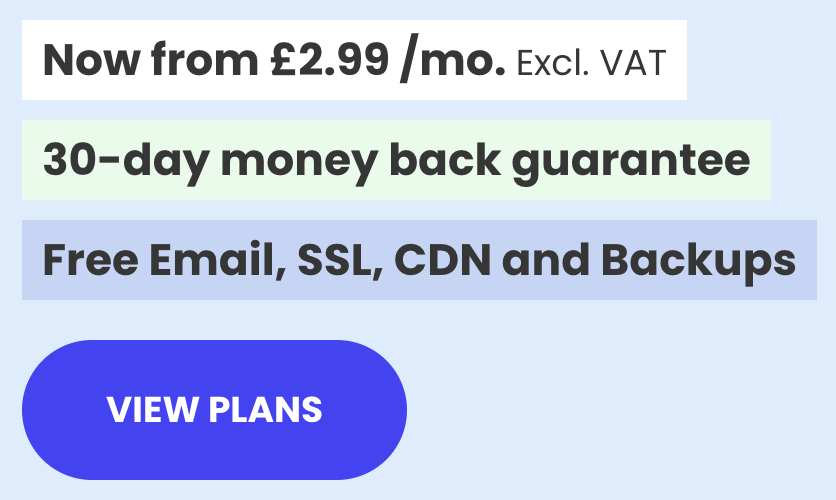
My recommendation is to use SiteGround for hosting as it is easy to set up, link to a domain that you own, and is fairly low cost. One year of hosting is around $100 and can host unlimited websites. SiteGround is also easy to use with Divi, which I will discuss in the next articles.
Simply visit the SiteGround website and click view plans then follow the prompts:
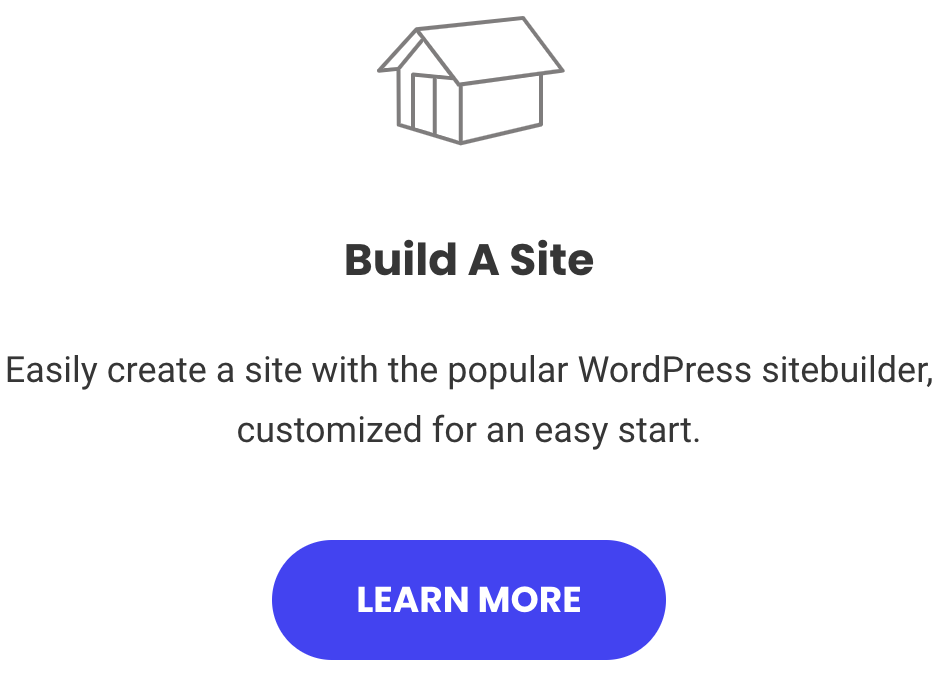
Note: SiteGround has a Build A Site feature that works well with WordPress. This makes it an excellent choice for building multiple sites fairly fast. Below is an image of this builder feature.
Connecting Your Domain
Once you have purchased the hosting you will need to link it to your domain. This is the process where you connect your domain to the hosting provider so that your website can be displayed on the internet.
The process below will show you how to do this via Google Domains as this is what I use. However, NameCheap and other domain providers are similar.
Note: Most hosting providers have a live chat feature where they can walk you through the process. If you are having trouble, this is the best starting point to ask questions.
Steps to linking your Google Domain to SiteGround:
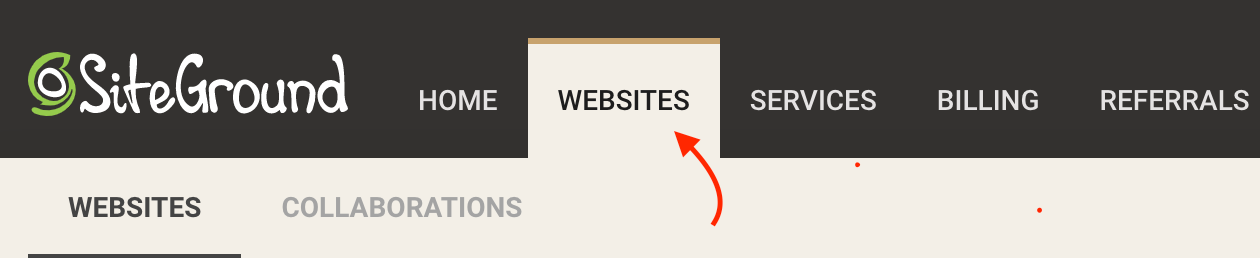
Login to SiteGround and navigate to the “Websites” tab.
Scroll down to where it says “Add New Site.”

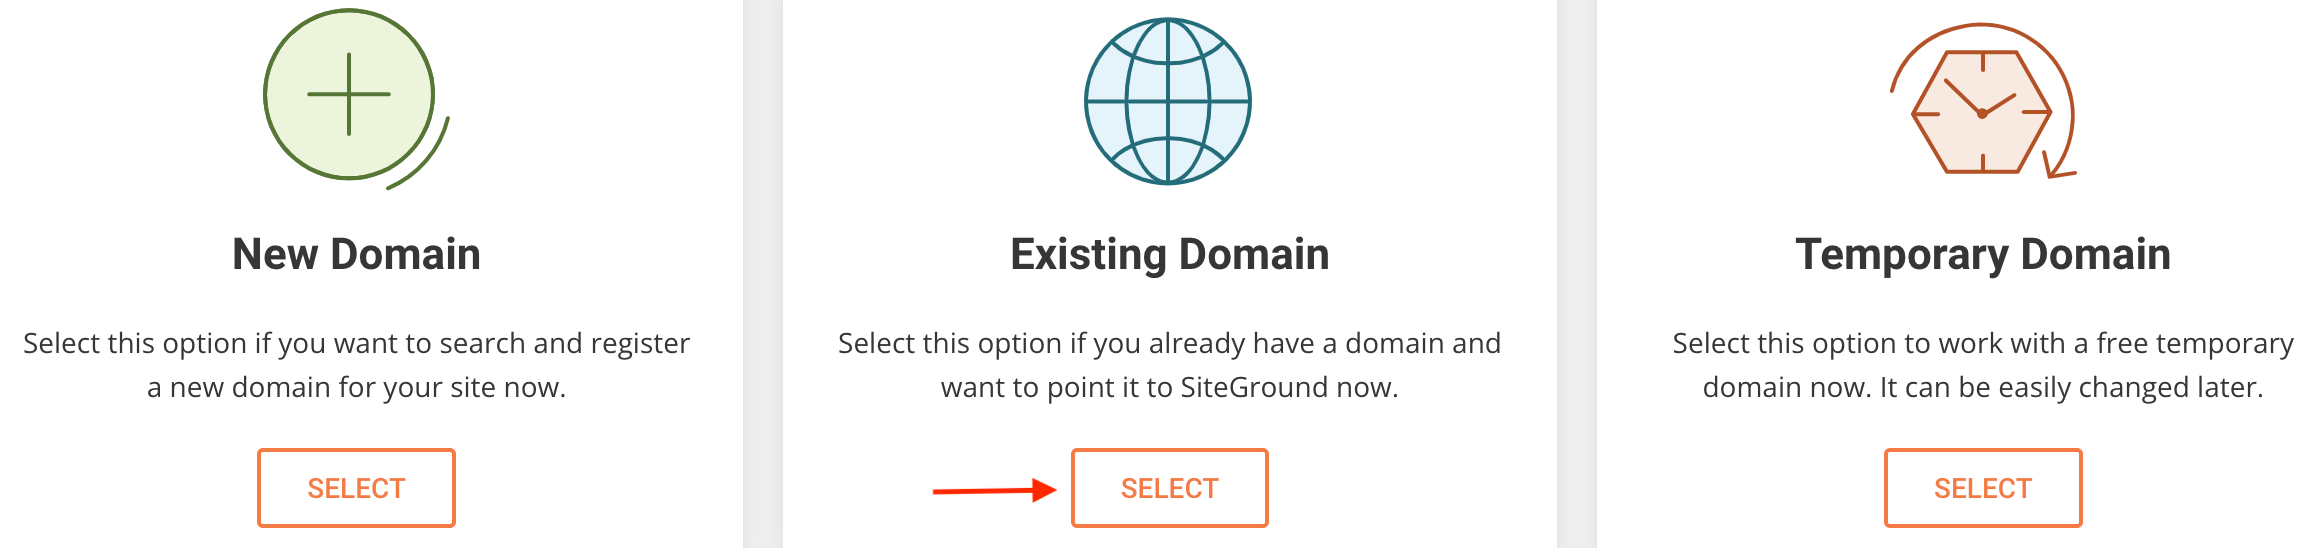
On this page, you will see a few options. Assuming you purchased your domain already, click “Existing Domain.”

Now you will be shown a box to enter your domain name.

Once entered you will be asked to either migrate or create a new website. Select to start a new website.

Select WordPress as the application.

Next, it will ask you to set up a login.
Note: When juggling multiple WordPress sites you need to use a password manager to track everything, otherwise you will be constantly resetting passwords. However, do NOT recycle the same password! I recommend using LastPass.

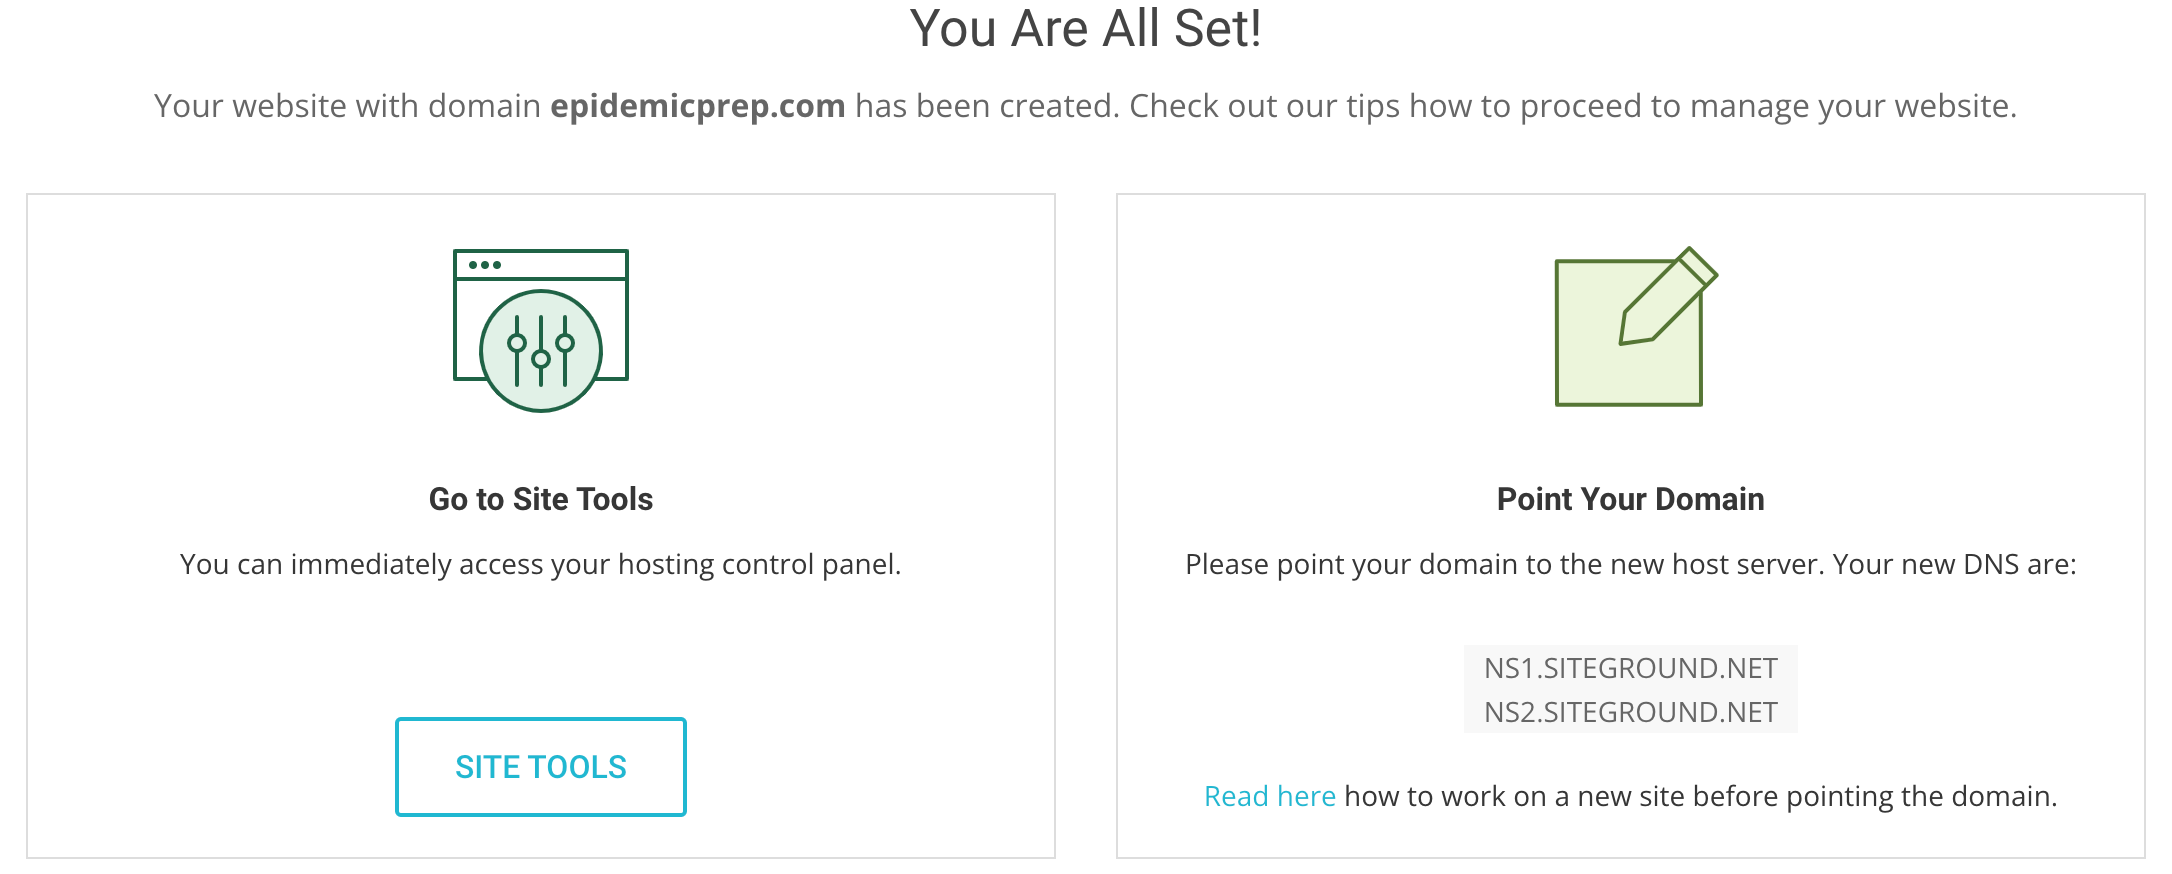
On the next page, you will be asked to add a service, just skip it and you will arrive at a page with the option of pointing to your domain. There are two phrases listed which are your DNS Server addresses (NS1.SITEGROUND.NET AND NS2.SITEGROUND.NET). In short, this is used as a digital telephone book for the internet to track your IP addresses. You use these phrases to connect your domain to hosting. You can read more about DNS servers here if you want.

Now go to Google Domains and sign in.
You will see a list of your domains listed. Select the domain that you wish to connect to SiteGround.

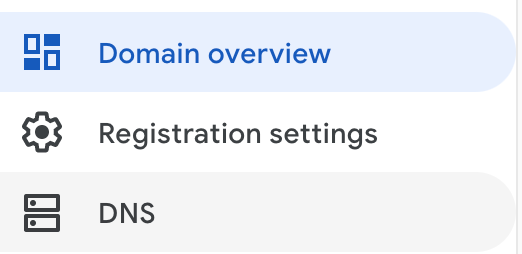
You will now see a sidebar, select the button for DNS.
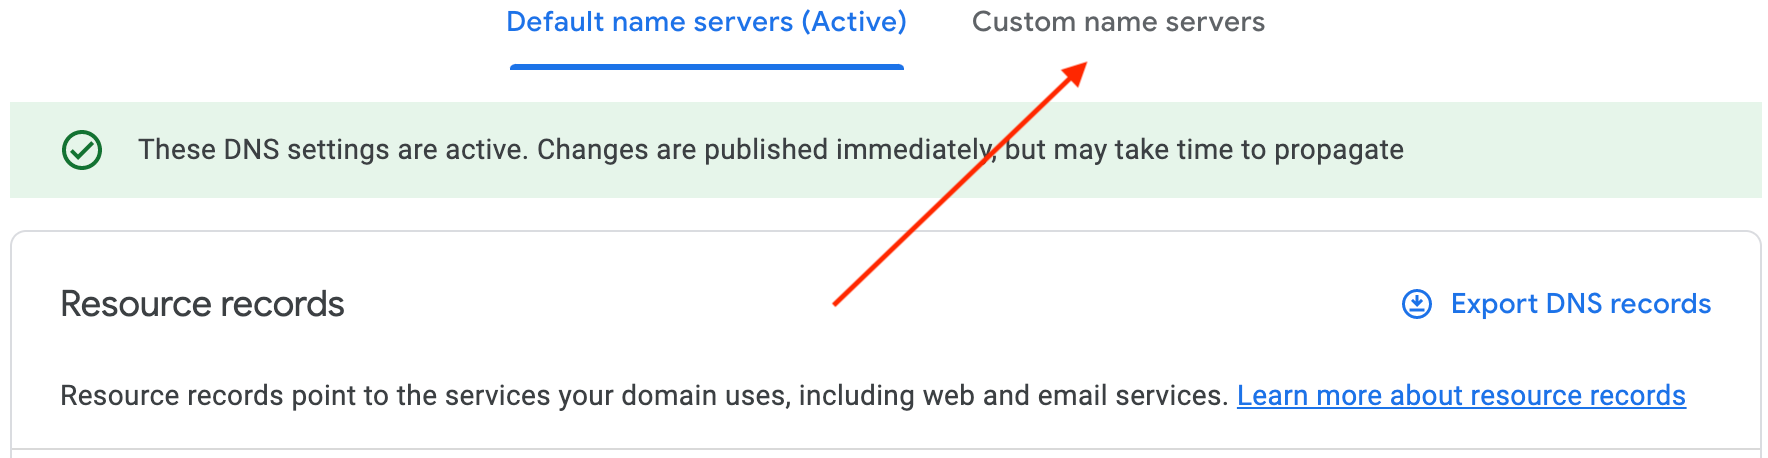
On the next page, your domain will be set to the default option. You will want to select the Custom Name Servers.
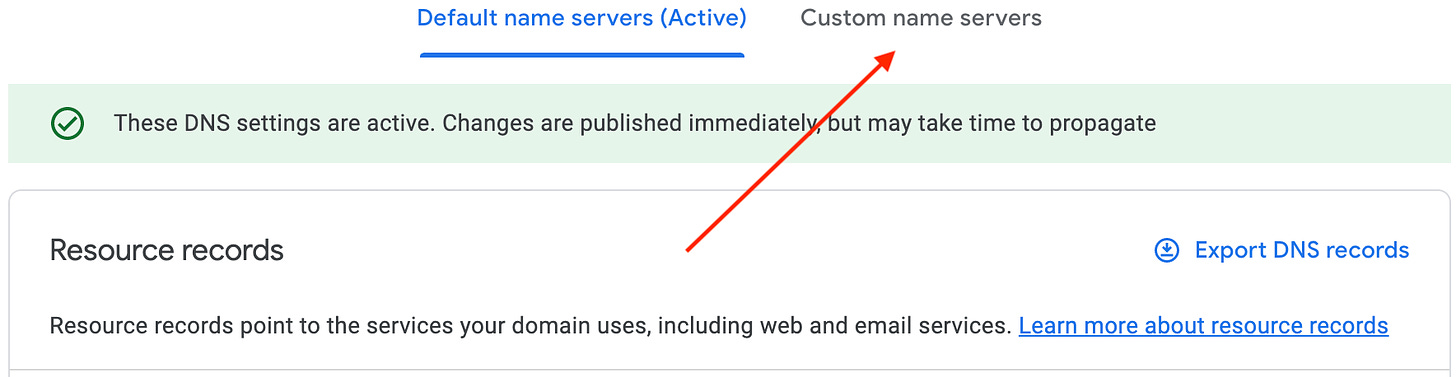
Now you will see the screen below with two boxes that say “Name Servers.” This is where you enter the two phrases from SiteGround NS1.SITEGROUND.NET AND NS2.SITEGROUND.NET.
Click “Save.”

On the next page, you will be prompted that your domain isn’t using these settings.
Click on the “Switch to these settings” button.


That was everything required to connect SiteGround to Google Domains. Your website should be ready to open on SiteGround almost instantly. Again, this process is similar to other domain and hosting servers and it is best to ask for help through their chat boxes.
Summary
Much of this was very basic, however, lead gen is a process so it is vitally important to put emphasis on basic processes. Everything listed here will take only a few minutes after you are familiar with the process flow.
As a recap we covered:
Buying a domain.
Making a logo.
Buying hosting.
Connecting the domain to your hosting provider.
In the next article, we will cover an overview of WordPress, install a few plugins, and set up the basics of Divi which is the Page Builder we will be using.
If you have any questions leave them in the comments.